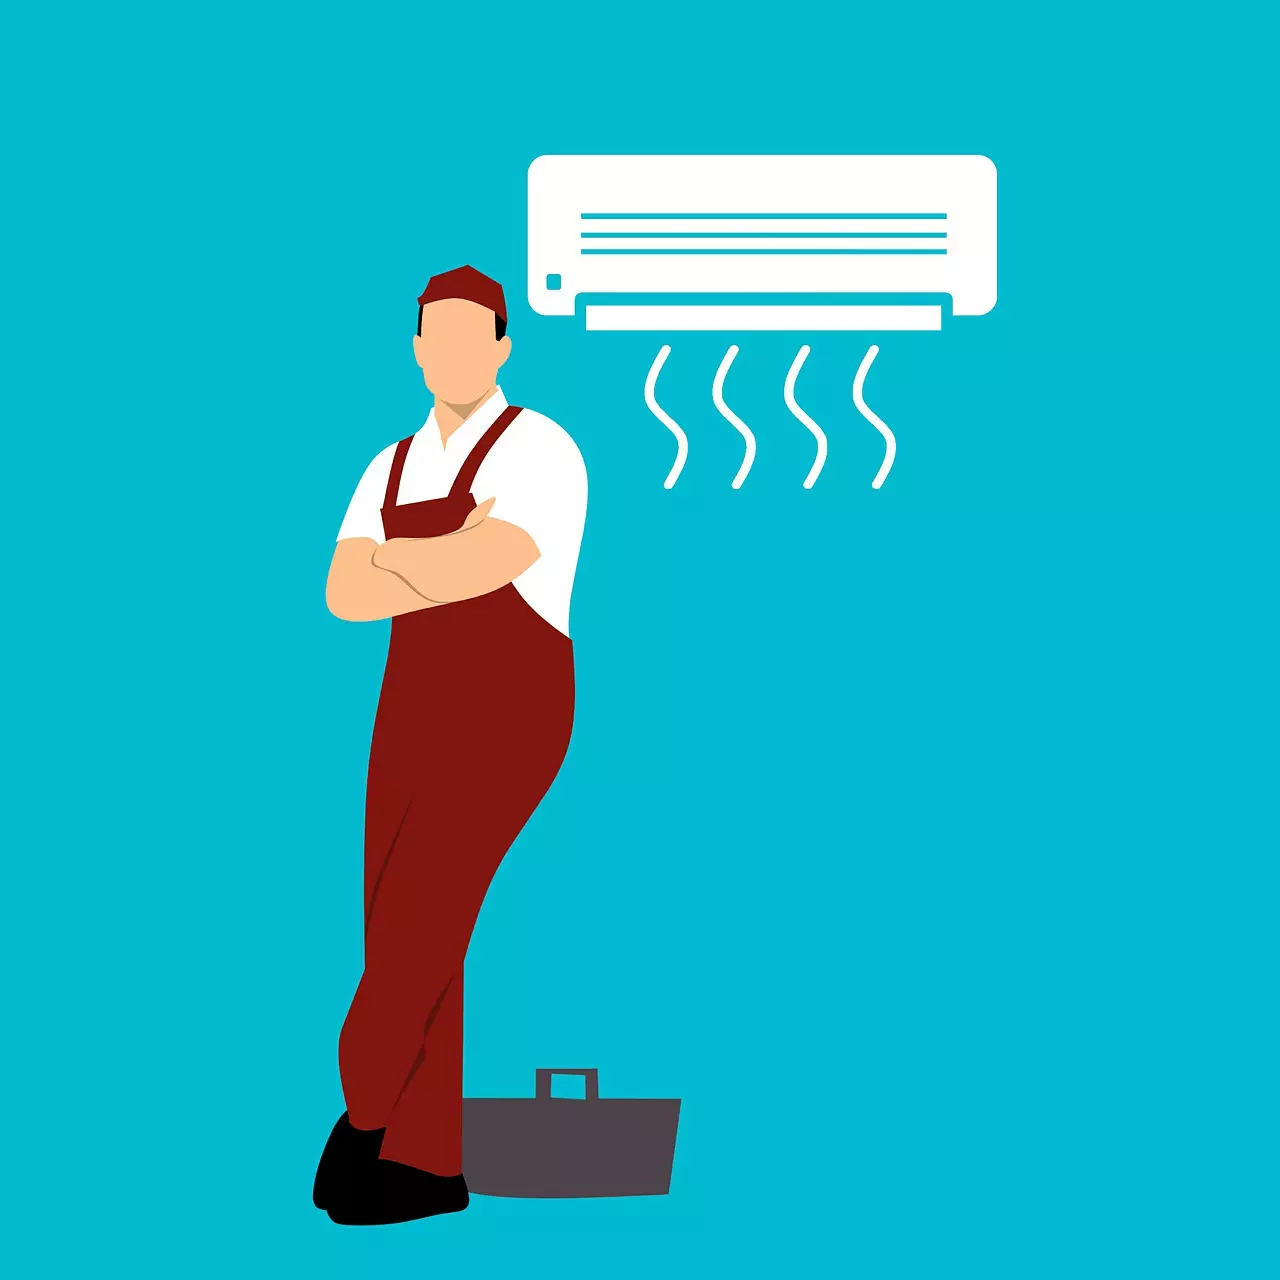
As the summer months approach, many people are looking for ways to keep their homes cool and comfortable. Central air conditioning installation is one of the best solutions to beat the heat and maintain a pleasant indoor temperature. But before you can enjoy all the benefits of central air conditioning in your home, you must first understand what it takes to install one correctly.
Installing central air conditioning is a multi-step process that requires significant knowledge and experience. It involves sizing the unit for your home, installing ducts, wiring electricity to the unit, and more. Before you begin the installation process, it’s important to familiarize yourself with the steps involved to ensure the job is done properly.

Step 1: Choose the Right Central Air Conditioning Unit
The first step in central ac installation is to select the right unit for your home. The size of the unit you need depends on several factors, including the size and layout of your home, existing insulation levels, and how often you plan to use it. Choose an AC unit that is the right size for your home to ensure maximum efficiency and performance.
Step 2: Install Ductwork
Once you’ve selected the right AC unit, you must install the necessary ducts to carry air throughout the home. Installing ductwork involves running metal or plastic pipes through walls and ceilings to reach each room. An experienced HVAC technician can help install the ducts correctly to ensure adequate air circulation throughout your home.
Step 3: Connect Electricity To the Unit
Next, it’s time to connect electricity to the unit. This involves running electrical wiring from a circuit breaker panel in your home and connecting it to the AC unit. You must perform this step correctly to ensure the unit receives power and runs efficiently.
Step 4: Install the Unit
Once the ductwork and electrical wiring are complete, you can install the AC unit itself. This involves mounting the unit on a wall or roof, sealing any gaps around it to prevent air leakage, and connecting the ducts. It’s best to hire a professional HVAC technician for this step to ensure everything is done properly.
Step 5: Test the System
Once all of the components have been installed, it’s time to test the system to ensure it functions correctly. Your HVAC technician can run a series of tests to ensure the unit runs efficiently and delivers cool air throughout your home.
Step 6: Schedule Regular Maintenance
Finally, scheduling regular maintenance for your central air conditioning system is important. This involves cleaning the filters, checking for leaks or wear and tear, and tuning up the unit annually. Scheduling regular maintenance will save you from dealing with a costly air conditioning repair down the road.
Installing central air conditioning in your home is a complex process that requires knowledge and experience. If you need help installing central air conditioning in your home, contact an experienced HVAC technician. Make the call today!

I am Scott Miller and my love is writing about home improvement. I write mostly about home ideas, but also share some tips and tricks that can make your life easier when it comes to getting things done in the house.


