Enhance Your Home’s Curb Appeal with a Stunning Paver Driveway in Half Moon Bay
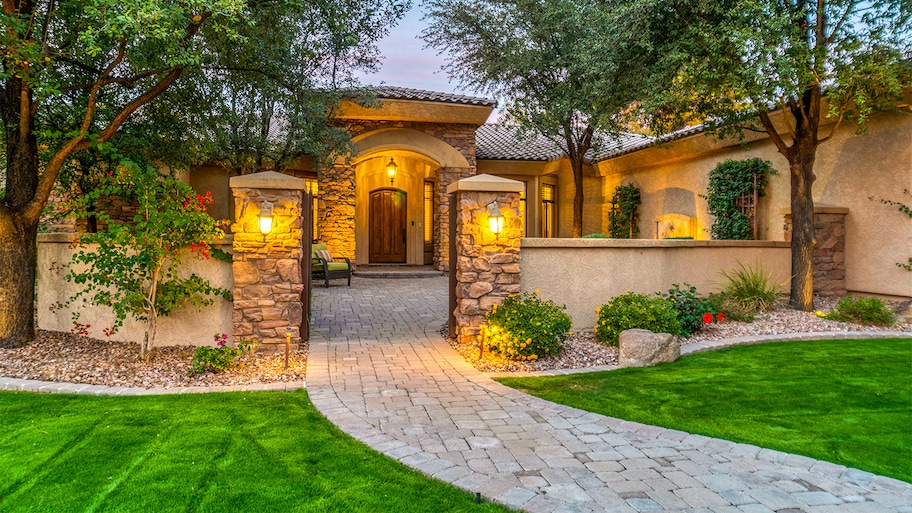
Half Moon Bay, California, with its breathtaking coastal views and serene ambiance, is where homeowners take pride in the appearance of their properties. A paver driveway could be the perfect solution if you want to elevate your home’s curb appeal while adding functionality.
In this blog post, we’ll guide you through the steps of building paver driveways in Half Moon Bay, offering expert advice and introducing you to Viking Pavers, your go-to paver contractor in the area.
Content
Choose the Right Material
When building a paver driveway, the first step is selecting the suitable material. Pavers come in various options, such as brick, stone, or concrete.
Your choice should align with both your budget and aesthetic preferences. Each material has its unique charm, so take your time to decide what complements your home and the surrounding environment in Half Moon Bay.
Design Your Dream Driveway
The next crucial step is to design your driveway. Determine the size, shape, and layout that suits your property. Consider factors like the slope of your land and potential drainage issues. An experienced paver contractor like Viking Pavers can help you design a driveway that not only looks stunning but also functions flawlessly.
Prepare the Area
Before any pavers can be laid, prepare the ground. Remove any grass, plants, or debris from the designated area. Excavate the ground to a depth of at least 8 inches to create a stable base for your paver driveway.
Install a Solid Base
A strong foundation is crucial for a durable paver driveway. Begin by laying a layer of crushed stone and compact it using a plate compactor. Follow this with a layer of sand, which should also be compacted. This provides a stable and level surface for your pavers.
Lay the Pavers
With the base in place, it’s time to lay the pavers. Start from one corner and work your way towards the opposite end. Ensure that the pavers are placed in the desired pattern and are level. A rubber mallet comes in handy for tapping them into place.
Precision Matters: Cutting Pavers
Driveways often have irregular edges that require custom-fitted pavers. To achieve a polished look, use a wet saw to cut any pavers that need trimming to fit the edges perfectly. This attention to detail can make a significant difference in the final result.
Secure with Joint Filling
To ensure the pavers are locked in place, sweep sand into the joints between them. Use a plate compactor to vibrate the sand, ensuring it settles evenly. This step is essential for the stability and longevity of your paver driveway.
Seal and Protect
Finally, apply a sealer to the pavers to safeguard your investment from stains and weather damage. This enhances their appearance and prolongs their lifespan, ensuring your driveway looks beautiful for years to come.
In Conclusion
Building a paver driveway is a fantastic way to enhance your home’s curb appeal. While it can be a complex and time-consuming project, the results are well worth the effort. For larger projects or when in doubt, consider contacting experienced paver contractors like Viking Pavers, who specialize in permeable-paver installation and can turn your driveway dreams into a stunning reality.
With the right planning and execution, you’ll have a paver driveway that adds both charm and functionality to your home.

I am Scott Miller and my love is writing about home improvement. I write mostly about home ideas, but also share some tips and tricks that can make your life easier when it comes to getting things done in the house.


